Water Pump
Water Pump Body (May 2016)
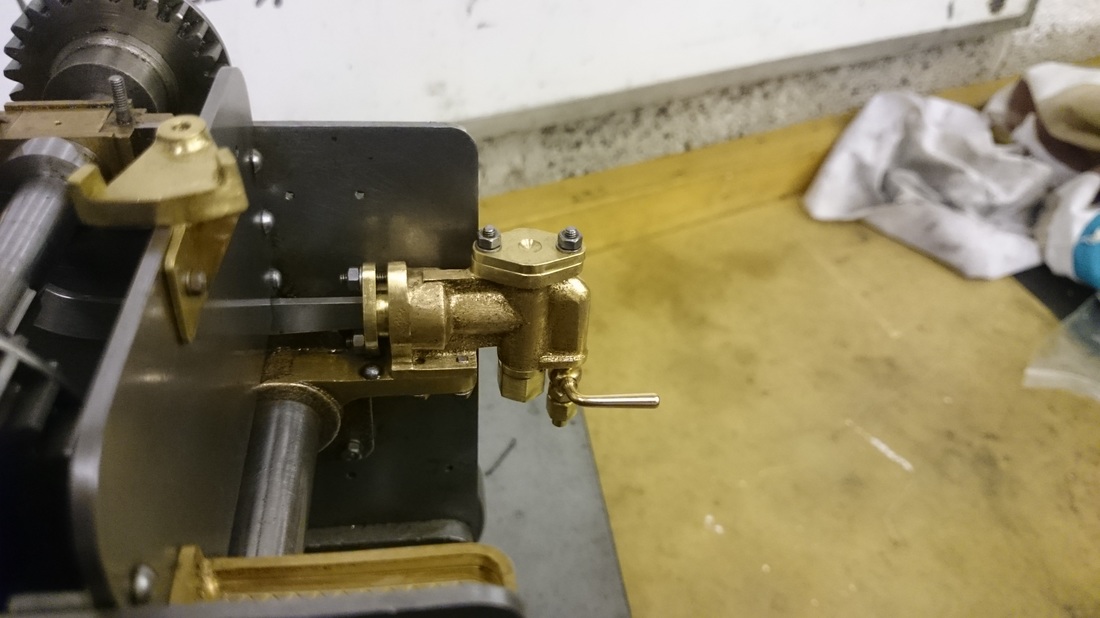
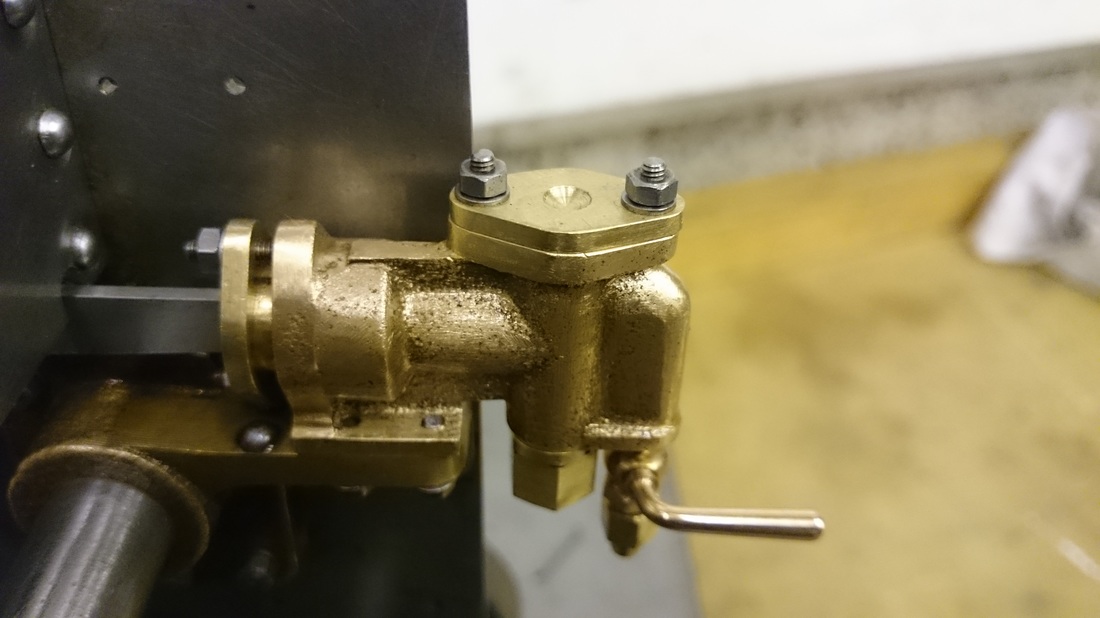
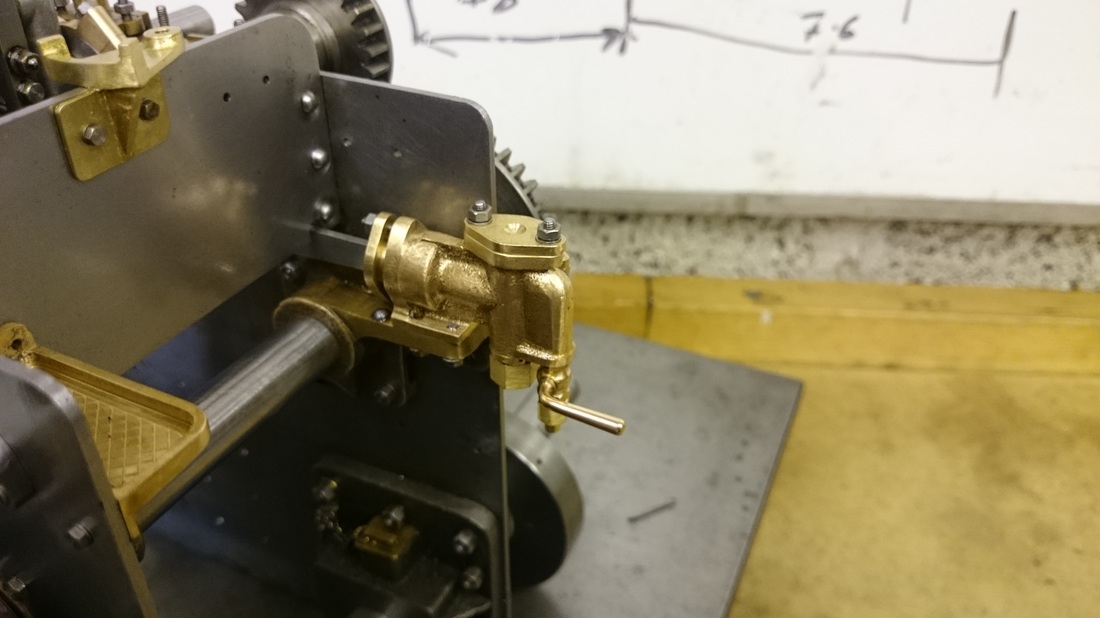
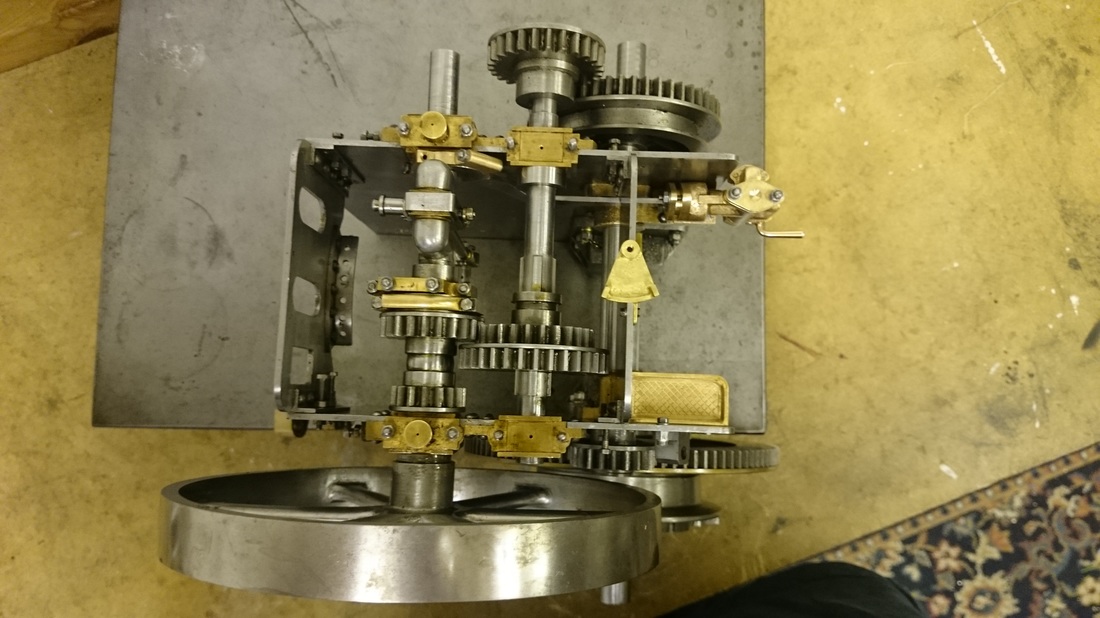
The body of the water pump is one of the original castings and thus needs loads of hand dressing to reach finished size and a good bit of thinking to align the many features to the material available. My casting was on the whole good however the some of the outer surfaces were not completely aligned with where the drillings need to be positioned, thus once again the drawings were used as a guide and the component developed feature by feature! The body of this pump contains the pump plunger, two check valves, an inlet and outlet and by pass valve, thus there is many drilling required, most of which are at angles, so all and all complex component to make!
The machining started in the lathe to create the bottom face then, moved to the mill to work around the remaining faces, squaring off the last each time. I found that there was no single setting to machine this part, and as such it was re set the vice many times to get to each feature.
The angled internal drillings presented a challenge as it would be easy for the drilling to run off and damage the upper check valve seat as the drillings are only a few mm away from the valve seat. To create these holes the drill bit was held in the required position and the body marked withe felt tip pen, thus when setting the part in the vice the pen line could be followed and used to depth the drill. Once the part was secured in the vice a 3mm slot drill was used to create a flat surface perpendicular the z axis, then a tiny center drilled used to spot the hole in the middle of the flat surface, then the drill used to make the hole.
Water Pump Bonnet, Outlet flange and Ramp Flange (April 2016)
The three flanges required all have different dimensions and have to be made separately. They were started on the lathe to form the outer dimension and central features, then moved to the mill and mounted vertically to drill the fixing holes. The diamond shape was then machined in the 4th axis. The sides of the diamond are parallel as they are all tangents off the central inscribed circle and the circle about the fixing holes, thus mill depth was set to machine the 'width' of the flange, then the part rotated to the required angle to achieve the sides. The angle was calculated by drawing the flange in CAD and taking the angle from the side to the axis.
Once the milling was complete the part was returned to the lathe for parting off and finally the outer edges were hand filled achieve the profiles.
Water Pump Suction Valve (December 2015)
This small assembly incorporates the suction pipe connection and the inlet check valve for the water pump. The body is mainly a series of turning tasks with a quick trip to the miller to drill the hole for the stainless steel pin that retains the ball bearing. The outer flange of the body has two flats to screw it in, however the angular location of these flats can not be identified until the lower face of the water pump is completed, thus these will be completed at a later date.
One of the challenges with this part is that it is fitted parallel to the by-pass taper valve with a spacing of ⅜”. If the drawings are taken completely then it would be pretty much impossible to make a retaining nut that does not collide with the valve, also the dimensions of the retaining nut pretty much prevent the 3/16 dia pipe from being retained, i.e. the inner diameter of the retaining nut threads governs the maximum outer diameter of the pipe flange and that is only about 0.2mm larger that the outer diameter of the pipe!
To overcome this challenge it was decided to make the collet shank the same diameter as the pipe (3/16”) and turn a small amount from the OD of the pipe before soldering. This is not an ideal mechanical solution, however the pipe will never be under pressure so will not pose of a risk.
To ensure the check valve does not pass, the central hole to ball seating face has to be a sharp edge with no burrs or deformities, thus great care was taken when drilling the recess for the ball and cleaning up the job once machined.
More words to follow.......
Here it is finished:
and a link to a video...
https://www.youtube.com/watch?v=2EVtRvBetXs